I’ve decided to set up Neovim and try it out as my IDE for a bit. It’s not that I hate my current setup or anything like that, I’ve been using vscodium as a vscode replacement for a few months now and it’s worked well enough with the extensions I like to use and all that; I’ve just been thinking about experimenting with Neovim for a bit and I’m finally giving in to the obsession.
When I’m working on setting up a VPS, messing around with my homeserver, or even just working on my laptop config, I tend to use Vim quite a lot. Part of the reason for this experiment is to build a more comfortable, custom experience for when I am using the editor locally. I’m also looking to get better with Vim in general, I can get around but I know I’m not being as efficient as you can be with the tool. If I use it more often, I think I’ll get better at using it. I also cannot deny the fact that a big part of this whole project is the curiosity around Neovim and the extremely cool aesthetic of a fully custom Neovim IDE. I like learning new things and this is the thing I’m teaching myself now.
This post is a way to document how I’m building my config and will likely be updated as I continue to tinker with the whole setup.
Installing neovim
1# Pretty straightforward on Fedora 41
2sudo dnf install neovim
When the installation is complete, run nvim to bring up the editor. This is what it looks like.
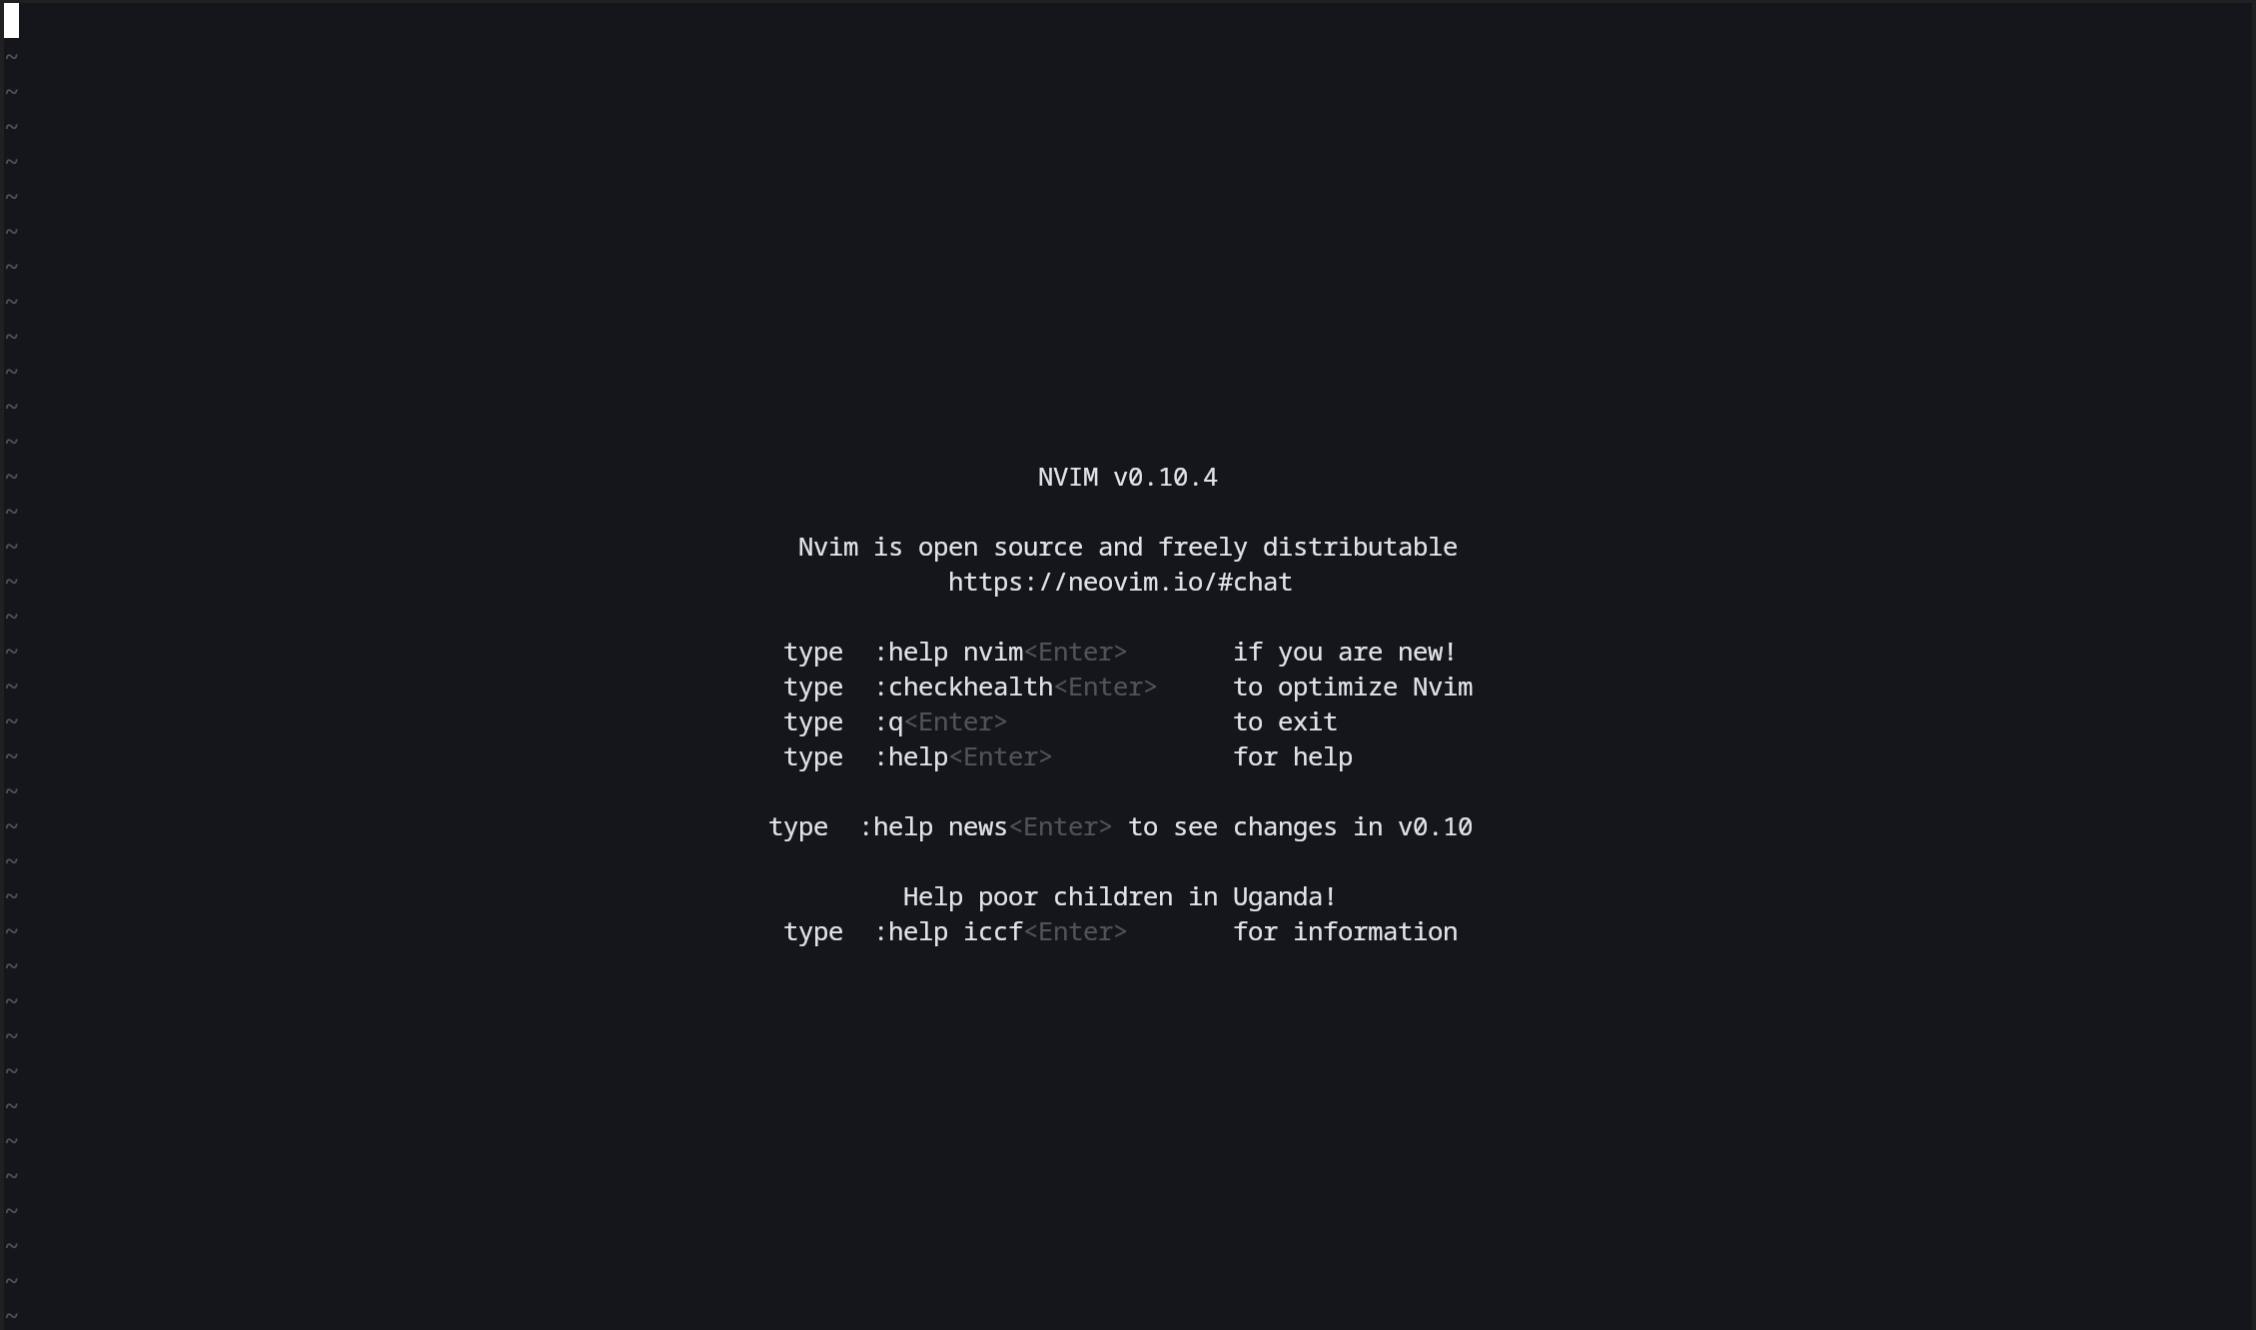
Not very different from plain ol’ Vim at the moment.
Customizing Neovim
There are now a few things to do before this becomes as usable (or close to as usable) as my current IDE. At the very least I want the following:
- Syntax highlighting
- Auto-formatting
- A file explorer would be nice
- Support for LSP plugins (Language Server Protocol)
Anything else would be nice and a bonus but at the very least I wanted that stuff. Additionally I wanted to do some basic quality of life stuff like line numbers (and also relative line numbers), allow both vertical and horizontal splitting, make Neovim ask for confirmation when doing destructive stuff, etc.
I started out just building out config files manually and that quickly got extremely overwhelming. You can interact with Neovim through the traditional Vim API, the Neovim API, and through Lua. I want to do the Lua thing because it would be kind of cool to start messing around with a new language while working through this and it does seem like the most easy to understand way to get through this. But like I said, it does get kind of overwhelming with the sheer vastness of the space that is Neovim config-land, so I started looking around for good examples online and stumbled upon Kickstart. This is an awesome project that walks you through a very basic Neovim config in the simplest way possible. It’s basically one init.lua file and everything is just thrown in there. It also uses Lazy as the package manager which seems to be the way to do it these days.
I started by just lifting the init.lua file exactly as it is and dropping it in my .config/nvim folder. This immediately changed everything and now Neovim looks like this.
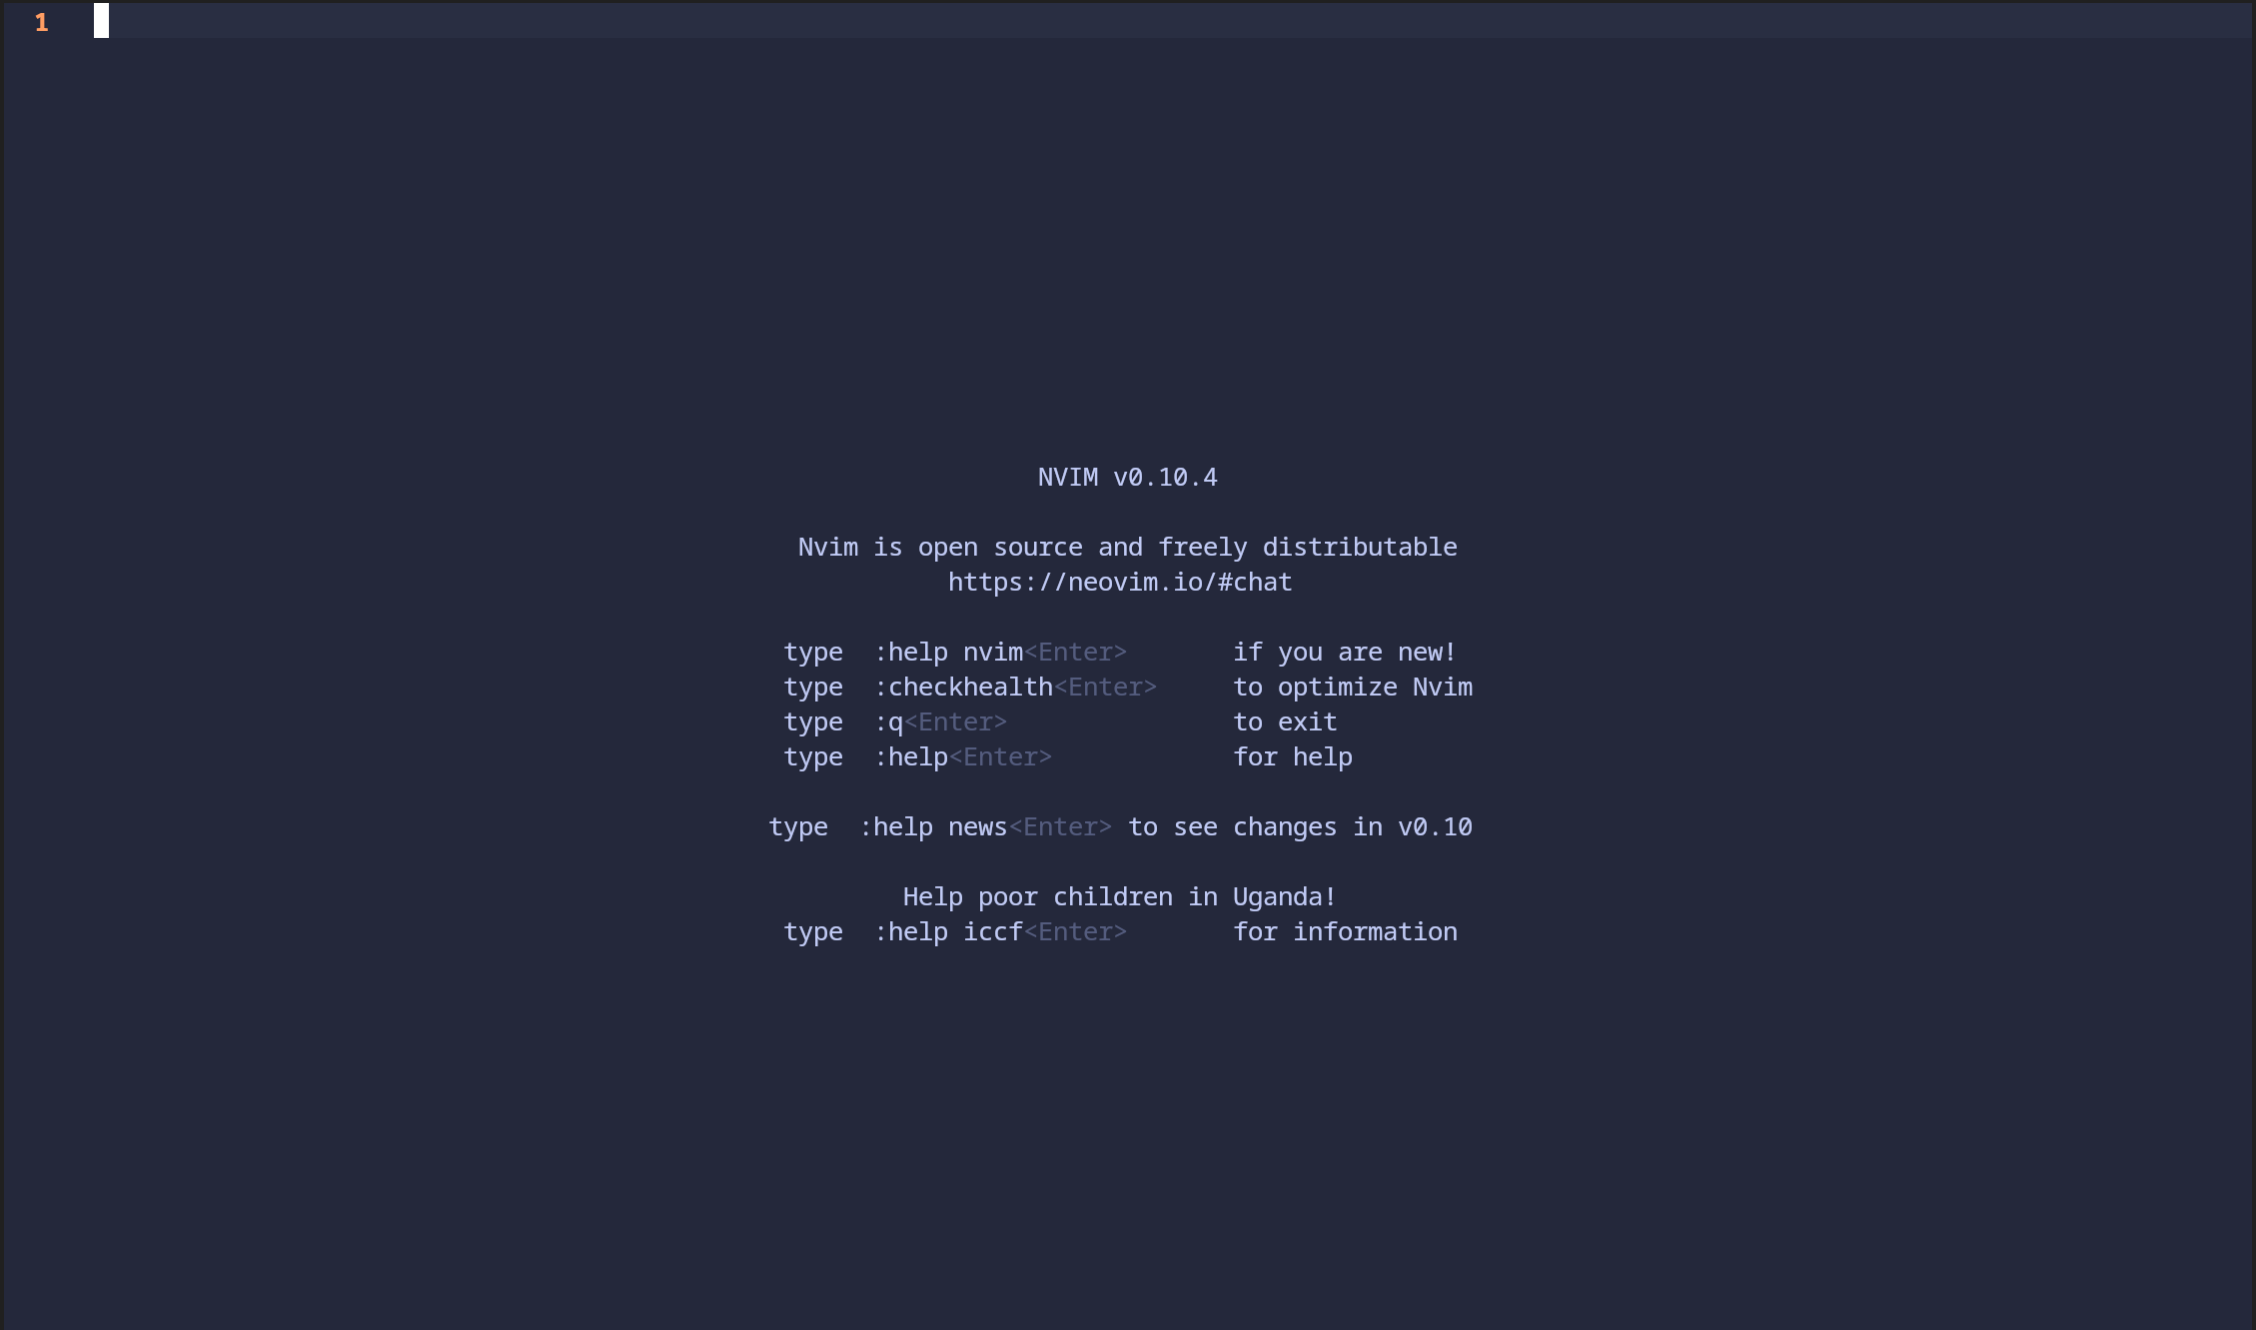
🤣
It isn’t really all that different, but actually, it TOTALLY IS! Obviously there is now a theme being applied, you can also see a line number at the top left, indicating that big changes await as we start exploring. I missed making a screenshot of this but when I spun this up a modal jumped out and showed me that tons of stuff was being installed. This was the Lazy interface and it was showing me the packages being installed. Here’s what this looks like when you bring it up.
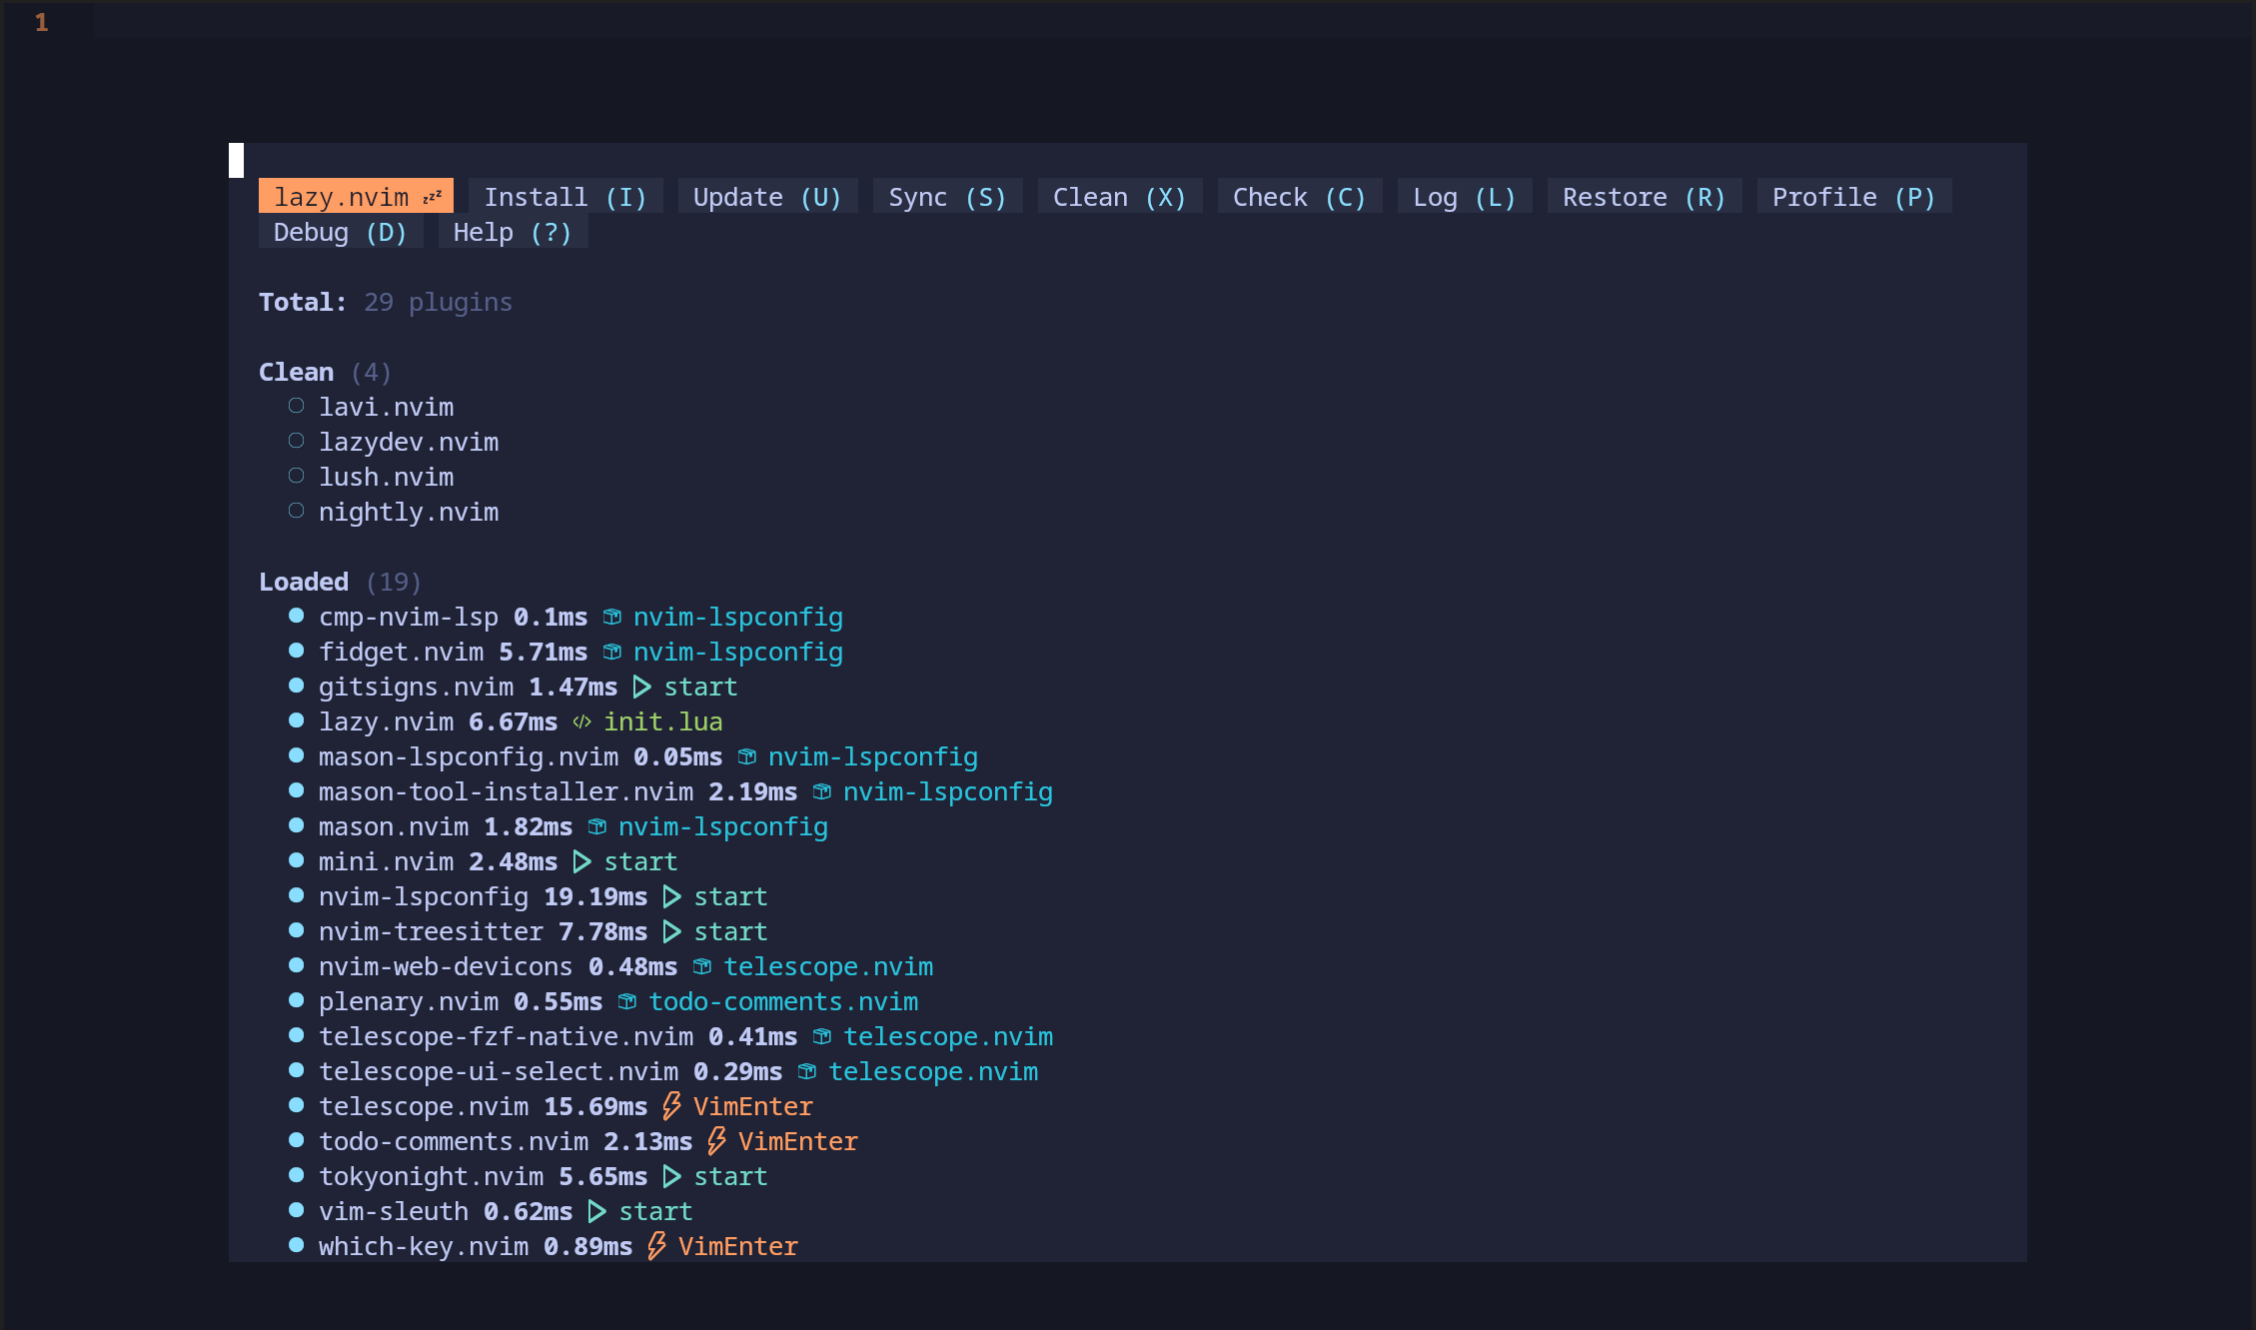
Okay, so there’s a lot going on in here. And also, yes I will acknowledge that I cheated and jumped from nothing straight into “customized” without really doing a lot, but the customizing journey is just starting. First off, everything is in the init.lua file and I don’t like that. It’s hard to read. Kickstart has done a lot in terms of adding some traditional Vim settings (via the Lua API) such as the line numbers thing, some keymappings, and also all of the Lazy plugins. But it requires a lot of scrolling to see what’s going on and to customize this one file further is going to be a bit of a pain. So what I’ve decided to do is break things up and move them around.
After a bit of reading and seeing what people do with their setups, what I’ve decided to do is this:
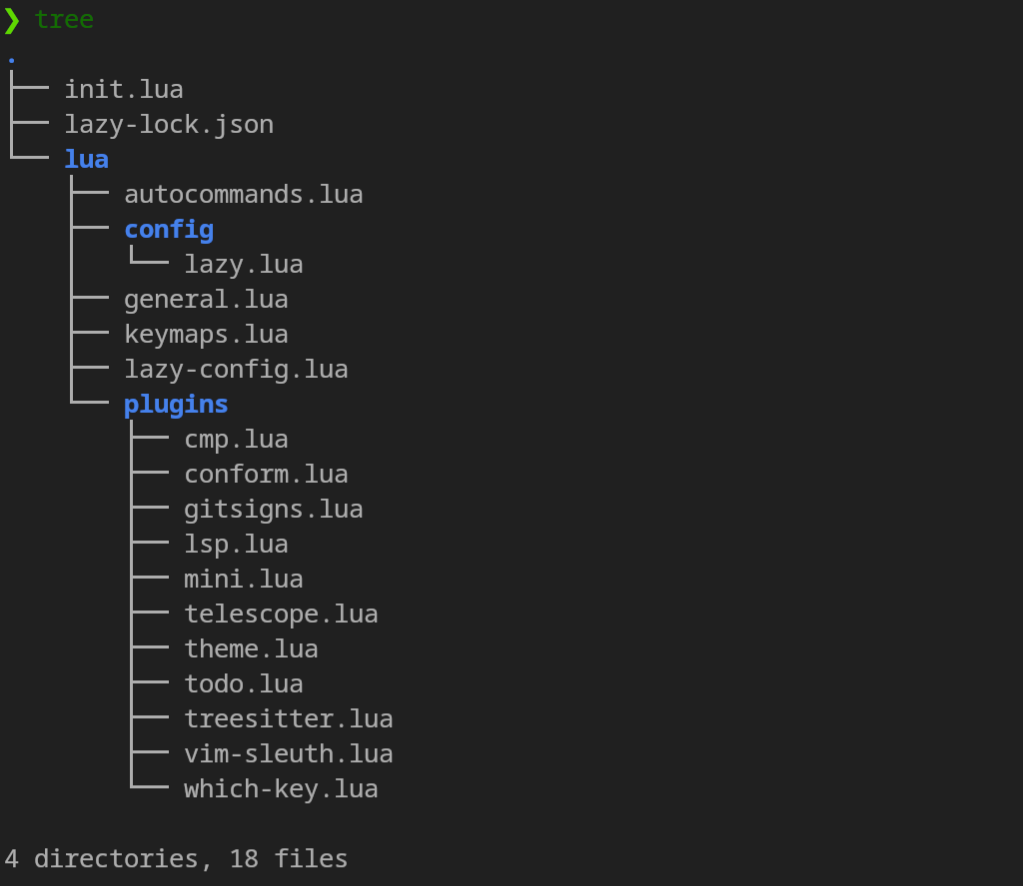
The init.lua file isn’t really doing much except importing stuff from other files. The lua folder now contains everything and I’ve broken up the keymap stuff, the general settings stuff, and some custom stuff that kickstart was doing into their own files. Plugins are in their own folder and the lazy setup file pulls those in individually and is then imported here. This is the init file now:
1require("general")
2require("keymaps")
3require("autocommands")
4require("config.lazy")
What this allows me to do is to manage every part of my config separately. It’s also made it far less intimidating to read through. I can focus on just one component at a time, and when it comes to the plugins, I can look at them individually with minimal scrolling. One really cool plugin that Kickstart put in there is Telescope. It’s a fuzzy finder that lets you search files and folders and it is actually amazing. The way it was setup also included some keymapping to allow you to quickly access its functionality. Here’s what that looks like in the telescope plugin config:
 1vim.keymap.set("n", "<leader>sh", builtin.help_tags, { desc = "[S]earch [H]elp" })
 2vim.keymap.set("n", "<leader>sk", builtin.keymaps, { desc = "[S]earch [K]eymaps" })
 3vim.keymap.set("n", "<leader>sf", builtin.find_files, { desc = "[S]earch [F]iles" })
 4vim.keymap.set("n", "<leader>ss", builtin.builtin, { desc = "[S]earch [S]elect Telescope" })
 5vim.keymap.set("n", "<leader>sw", builtin.grep_string, { desc = "[S]earch current [W]ord" })
 6vim.keymap.set("n", "<leader>sg", builtin.live_grep, { desc = "[S]earch by [G]rep" })
 7vim.keymap.set("n", "<leader>sd", builtin.diagnostics, { desc = "[S]earch [D]iagnostics" })
 8vim.keymap.set("n", "<leader>sr", builtin.resume, { desc = "[S]earch [R]esume" })
 9vim.keymap.set("n", "<leader>s.", builtin.oldfiles, { desc = '[S]earch Recent Files ("." for repeat)' })
10vim.keymap.set("n", "<leader><leader>", builtin.buffers, { desc = "[ ] Find existing buffers" })
<leader> here is my leader key which I’ve defined as <spacebar>. So if I were to do what the highlighted line says, i.e. spacebar + sf in normal mode I’d see something like this:
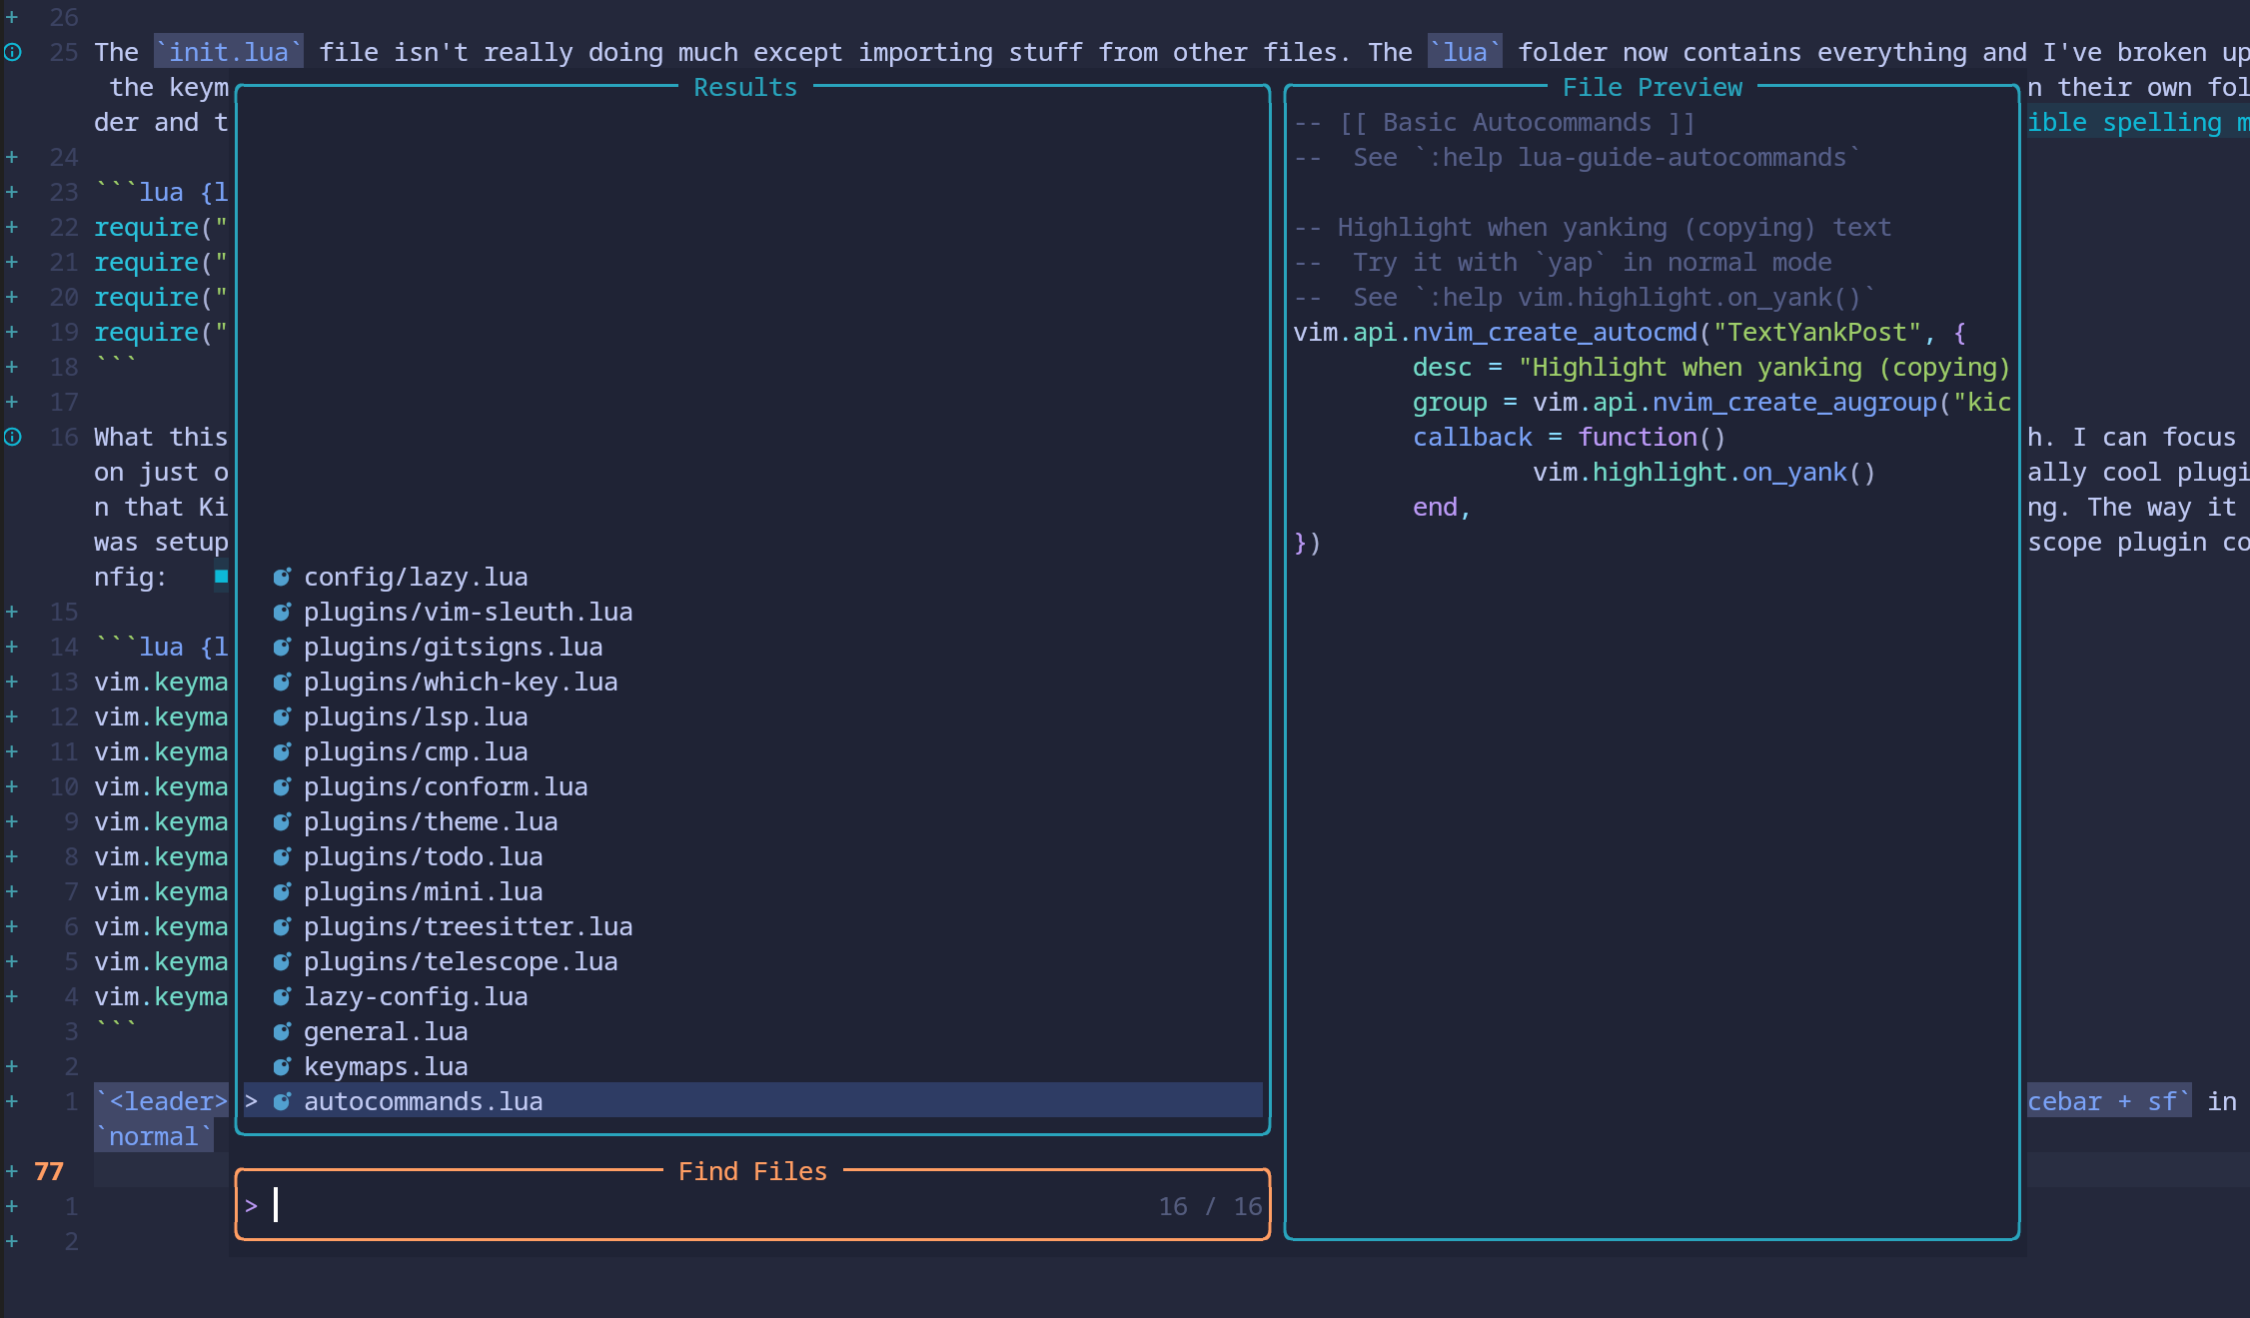
which is so useful. In fact, I kind of don’t really need a traditional file explorer in the way I was thinking about it, which was kind of like the sidebar style solution explorer I’m pretty used to. This is perfectly fine, the search is way better than the one in vscodium, and it forces me to use the entire screen for my code which is great.
Kickstart also added an LSP plugin which allows me to install LSP’s at my leisure! So I’ve got ts_ls for javascript/typescript, Volar for Vue, gopls for Go, and some other quality of life stuff that I’ll need. Lua comes by default because well, all of this is done via Lua.
What I like so far and next steps
One of the keymap settings I like is this one:
1vim.keymap.set("n", "<left>", '<cmd>echo "Use h to move!!"<CR>')
2vim.keymap.set("n", "<right>", '<cmd>echo "Use l to move!!"<CR>')
3vim.keymap.set("n", "<up>", '<cmd>echo "Use k to move!!"<CR>')
4vim.keymap.set("n", "<down>", '<cmd>echo "Use j to move!!"<CR>')
I have a habit of defaulting to the arrow keys and I want to reaaaallly immerse myself in Vim-land now. So arrow keys are turned off and I have to navigate the ‘right’ way. I’m getting better at it.
In general I like it so far. Is it WAY more work to set this up than vscode or vscodium? Yes, 100%, for sure. But it’s a lot of fun, I know more about what is going on, and I have total control over it. If you know me, then you know that I like that even if it’s a little inconvenient. So I will keep going down this path and building this out. As I said before, this Neovim journey is just starting now, there’s a lot to do with the LSP config, more searching around for cool themes, and most importantly getting good at Vim!
As I build out my setup I’ll come back to this post and add to it at the bottom here.